These are my easy iPhone photography tips for taking great photos with zero photography experience
You don’t need any fancy equipment to take nice photos with your iPhone. I do have a special setup that I use for taking professional photos of my recipes and my cakes but sometimes I need to take something very quickly for my Instagram stories and want a nice backdrop but don’t want to take the time to do a full setup.
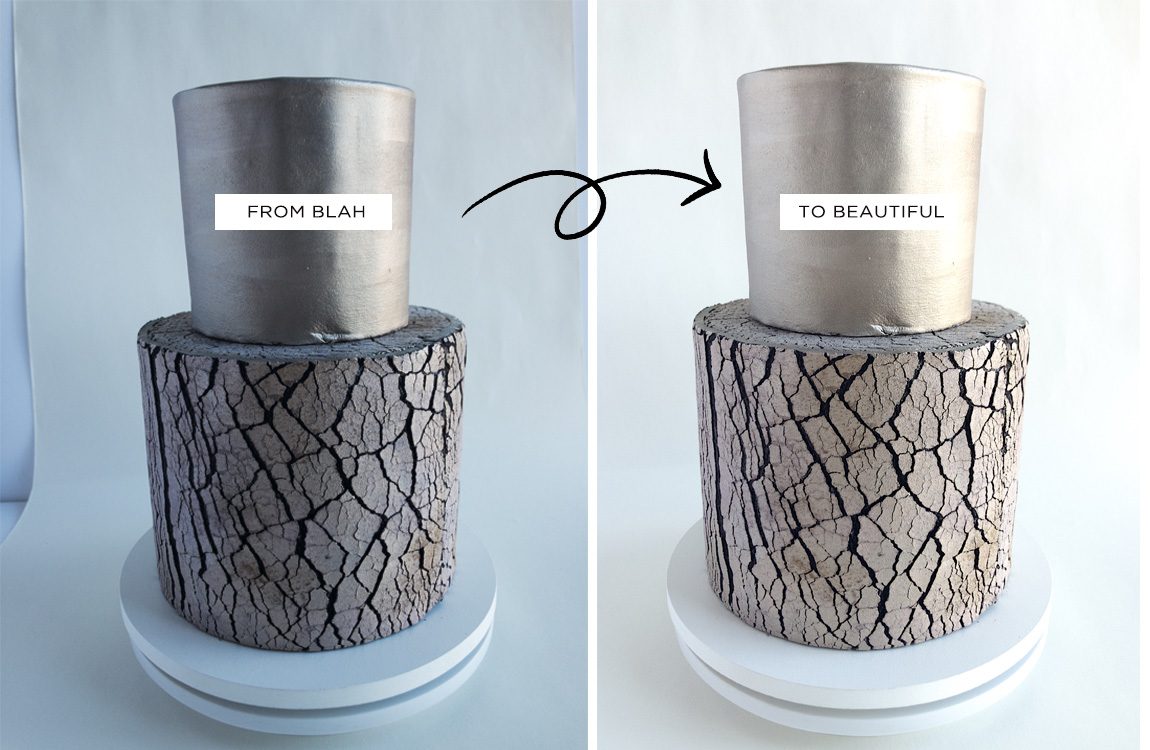
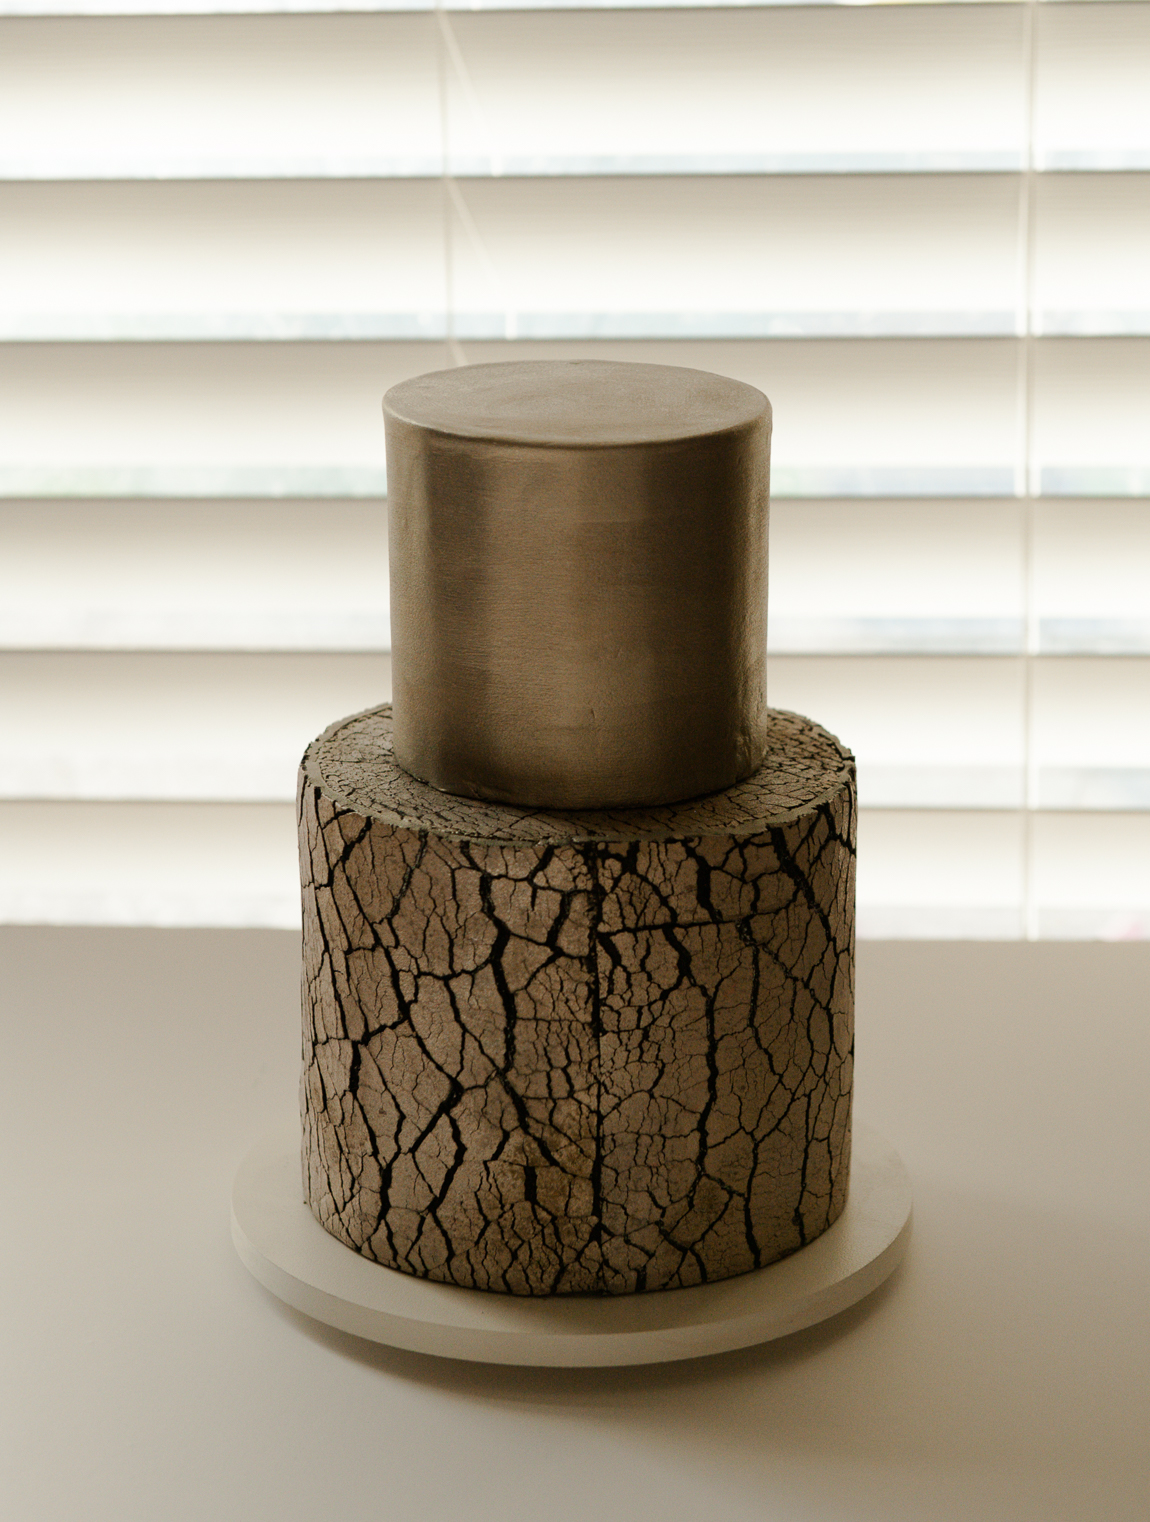
These are my top 5 iPhone photography tips on how to take your simple iphone photos from this…
To this!
Early food photography setup
When I first started taking photos of my cakes back in 2008, I didn’t know anything about food photography and I certainly didn’t have a camera phone, (yes I’m that old). I did know what I liked though. I followed a lot of people on Flickr (again, showing my age) and I analyzed how they set up their photos and tried to imitate them.
First I started out taking photos of my cupcakes and used scrapbook paper as my backdrop. I didn’t have any lights so I set up a small table next to the sliding glass door in my kitchen and simple taped the paper to the wall and the table when I needed to take a photo.

I couldn’t afford a fancy camera back then so I used a Canon powershot and LOVED that little camera. That camera worked so well, I actually went through two or three over the years. It cost less than $100 and had a food setting. There was also an option to adjust the color balance during shooting so my white balance was always on point.
Since I went to graphic design school, I had the advantage of already knowing how to use photoshop so I could easily import my photos from the SD card onto my computer, do a little adjusting in photoshop, crop them to a web friendly size and then save them to a folder.
Then I would use these photos for blog posts, for uploading to Flickr or for advertising on website like weddingwire or the knot (which I really don’t recommend using anymore).
So if you feel more comfortable using a small point and shoot camera, that’s definitely an option but you will have to have a computer and photo editing software to edit your photos before posting them online. Re-sizing photos is called “optimizing” and what this means is that they load quickly when someone tries to view them. An important thing that a lot of people do not do.
iPhone Photography Tips #1 – How to make a simple photography backdrop
There are a lot of ways you can make a photography backdrop to use with your iphone photography. You can buy a piece of vinyl and build a simple pvc stand to hold it.

You can use butcher paper and just tape it to the wall whenever you need to snap a pic. I don’t love using butcher paper because it always get’s wrinkled so I feel like it’s a waste unless you’re cool with taping it up and leaving it up so it’s ready.
Or you can use foam core like I have done here. I like using foam core because it’s easy to fold up and store away. It has a nice neutral white color and is big enough for most things I need to photograph.
To make a foam core backdrop, simpley tape two pieces of white foam core together (lengthwise) with some clear packing tape. I put the tape on the back side so that you don’t see it in the photo.

This basically creates a white background and floor for my photo. There is a slight line through the center so if the line bothers you, you might choose to go with a butcher paper setup instead.
Next you’ll want a reflector that basically reflects light back onto the dark side of the cake. This is just a third piece of foam core with a triangle of foam core taped to the back as a little stand.
iPhone Photography Tips #2 – Choosing the right lighting for your iPhone photography
I get asked a LOT what lighting to use for photography. I get it, a lot of us work late at night and want to get that photo right away but the truth is, unless you can invest in some pretty big studio lighting (which tends to be pretty bulky) then you’re going to need to take photos using natural light.
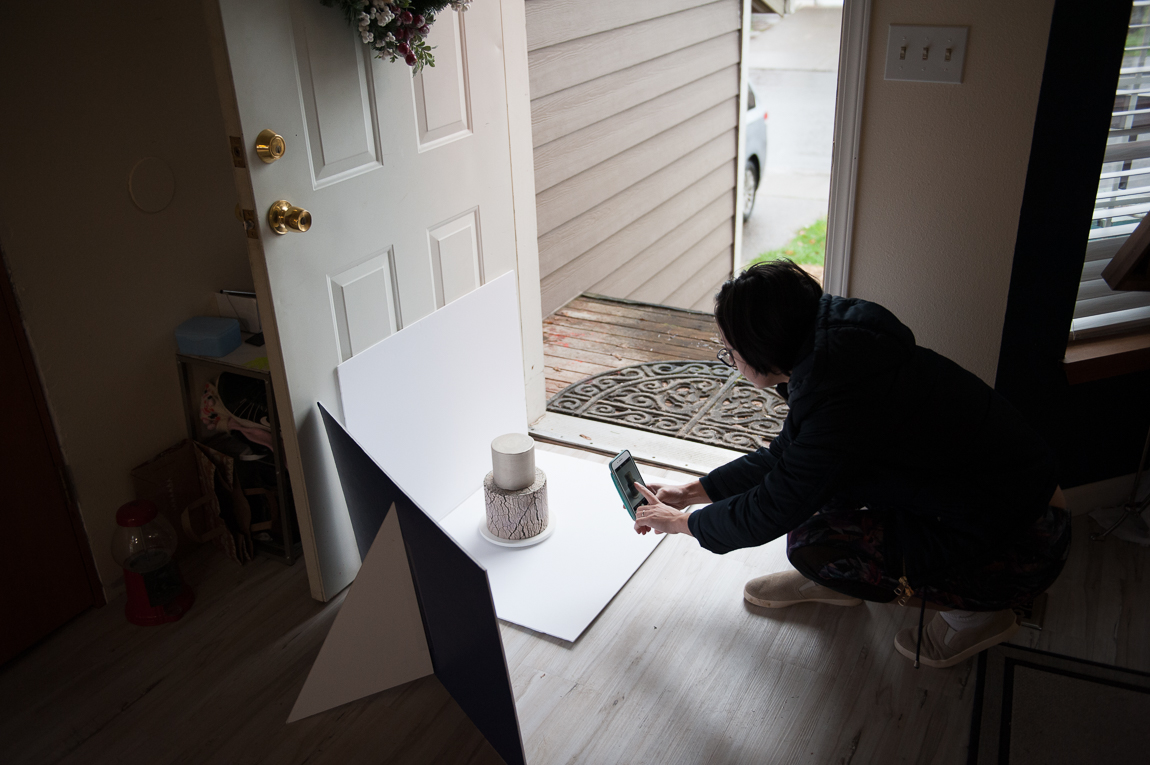
Natural lighting is going to produce the best photos. All you need is a door or a window with indirect light. Indirect light means light but not bright harsh light. I will typically set my cakes up just to the side of a window or door that is facing either North or South so there’s not bright sunshine on my cake. If you don’t have a North or South facing window then just make sure your cake is not sitting directly in the sunlight.
If you put your cake with direct light shining onto it, you’ll get highlights that are way too bright and shadows that look really dark.
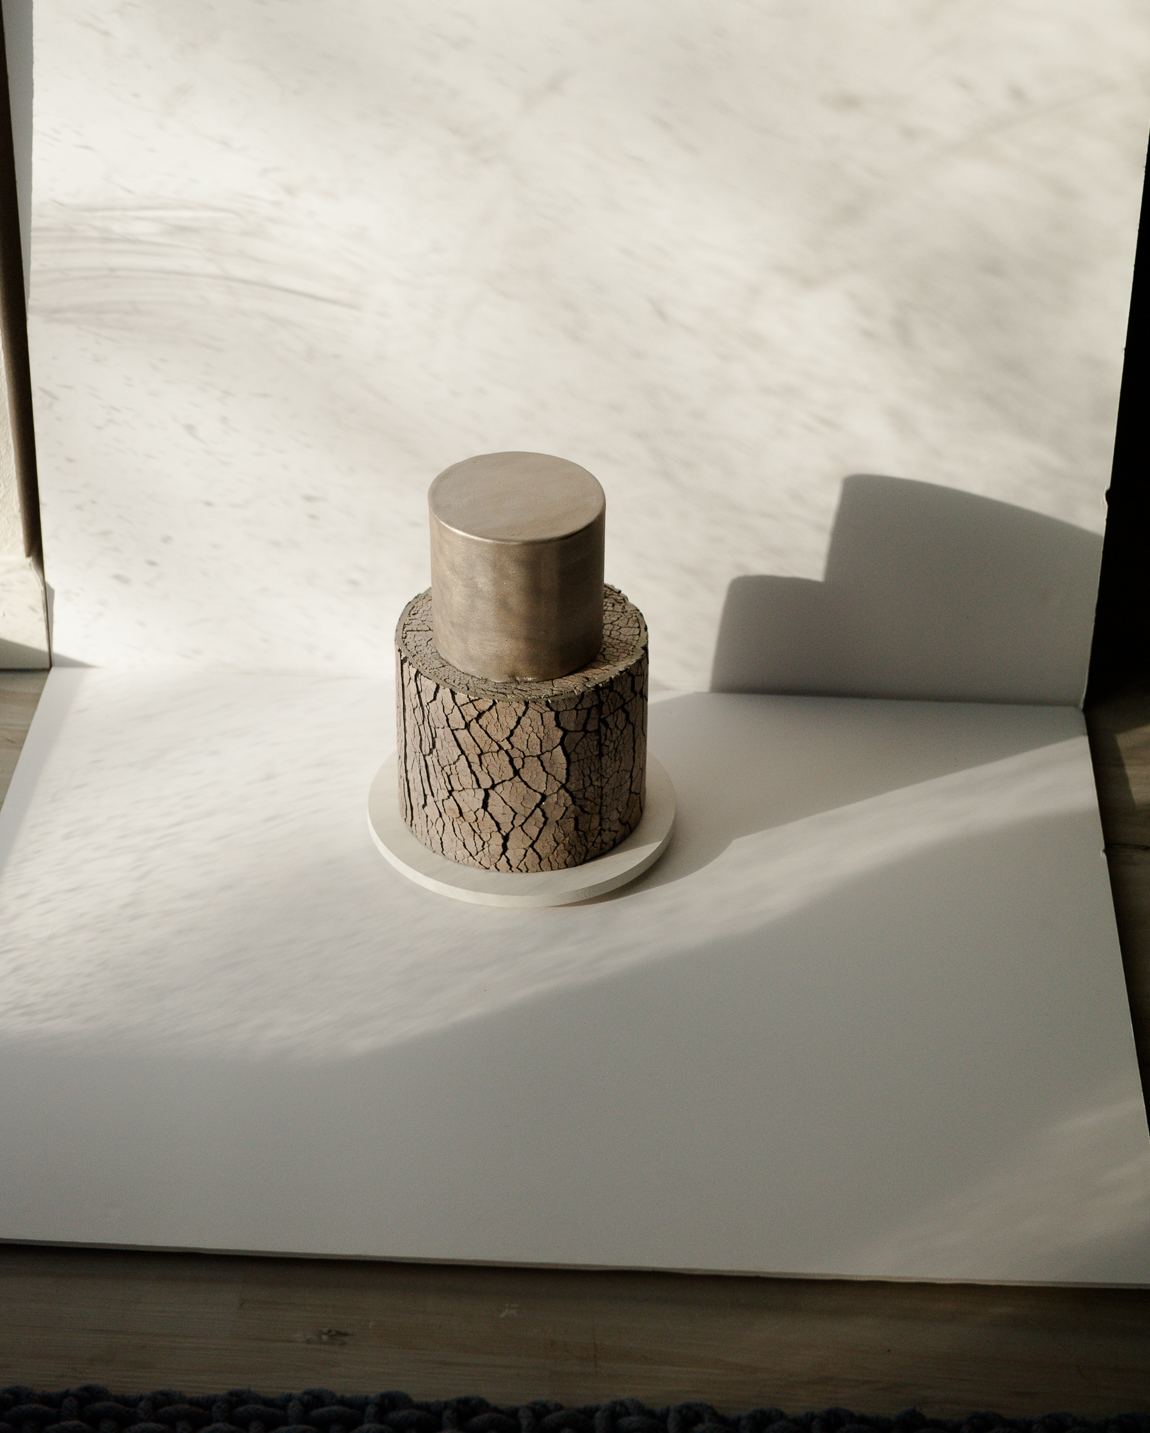
You also don’t want the light source behind your cake. This will cause the cake to have really dark shadows on the front of your cake. The light should be coming from the side of the cake and then use your poster board to bounce light to the dark side of the cake.
So your setup should look like this. In-direct light coming in from the side, reflector on the other side.
iPhone Photography Tips #3 – Simple iPhone photography techniques
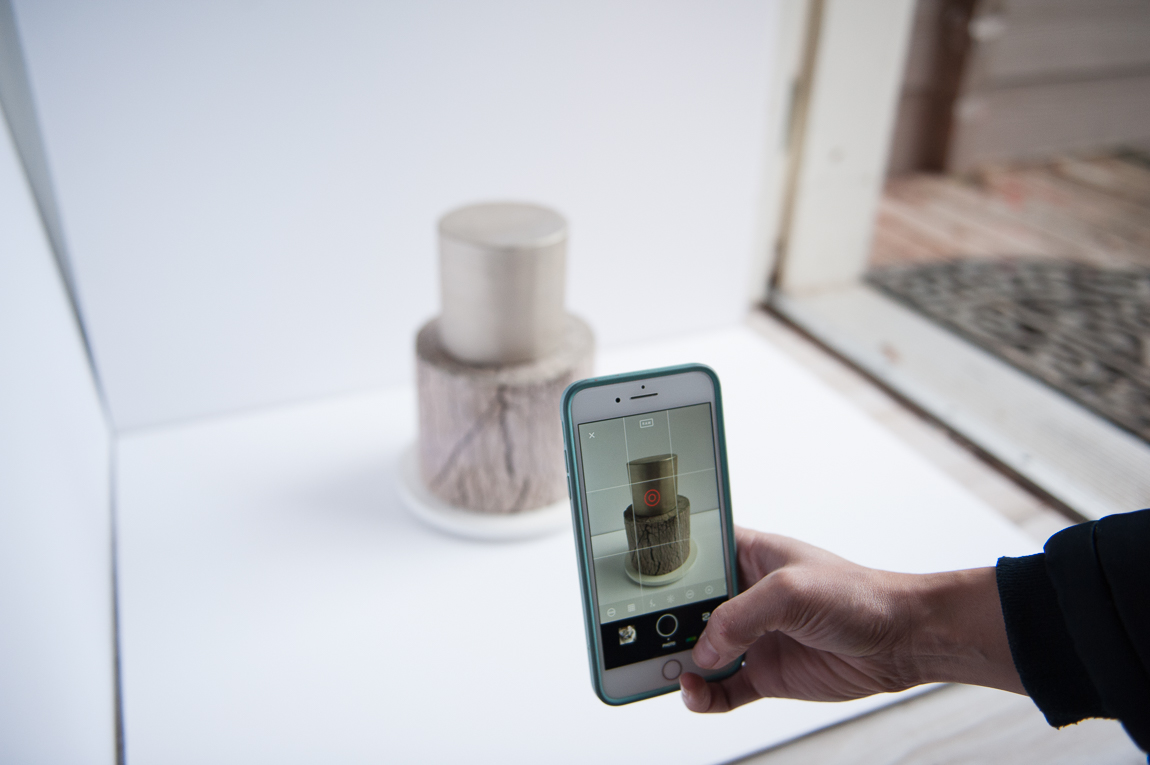
- Turn your phone grid on so you can make sure you’re taking your pic straight up and down. Open the Settings app. Tap Photos & Camera (or just Camera if using iOS 11 or later). Find Grid and toggle it on.
- Turn on your lock to avoid blurry photos. To lock your focal point, hold your phone steady, touch the center of the screen to focus on the cake and then hold your finger until it says AE/AF LOCK.
- Get close to your subject. The closer you get, the more details you will be able to see. Don’t rely on cropping or zooming in (although some cropping is ok) because you’ll lose quality.
- Take multiple photos. Get some detail shots as well so that you can have more things to post per cake. Don’t post all the photos at once. Each time you post a photo you can talk a little bit about that specific part of the cake, the process or any challenges you had to work through.
- Video – Ok so this isn’t technically photography but video does SO well on social media, it would be silly not to mention it. I always do a little video of the final cake with a 360º spin on a turn table for social media and it always gets more engagement than a photo alone.
iPhone Photography Tips #4 – Editing photos on your iphone
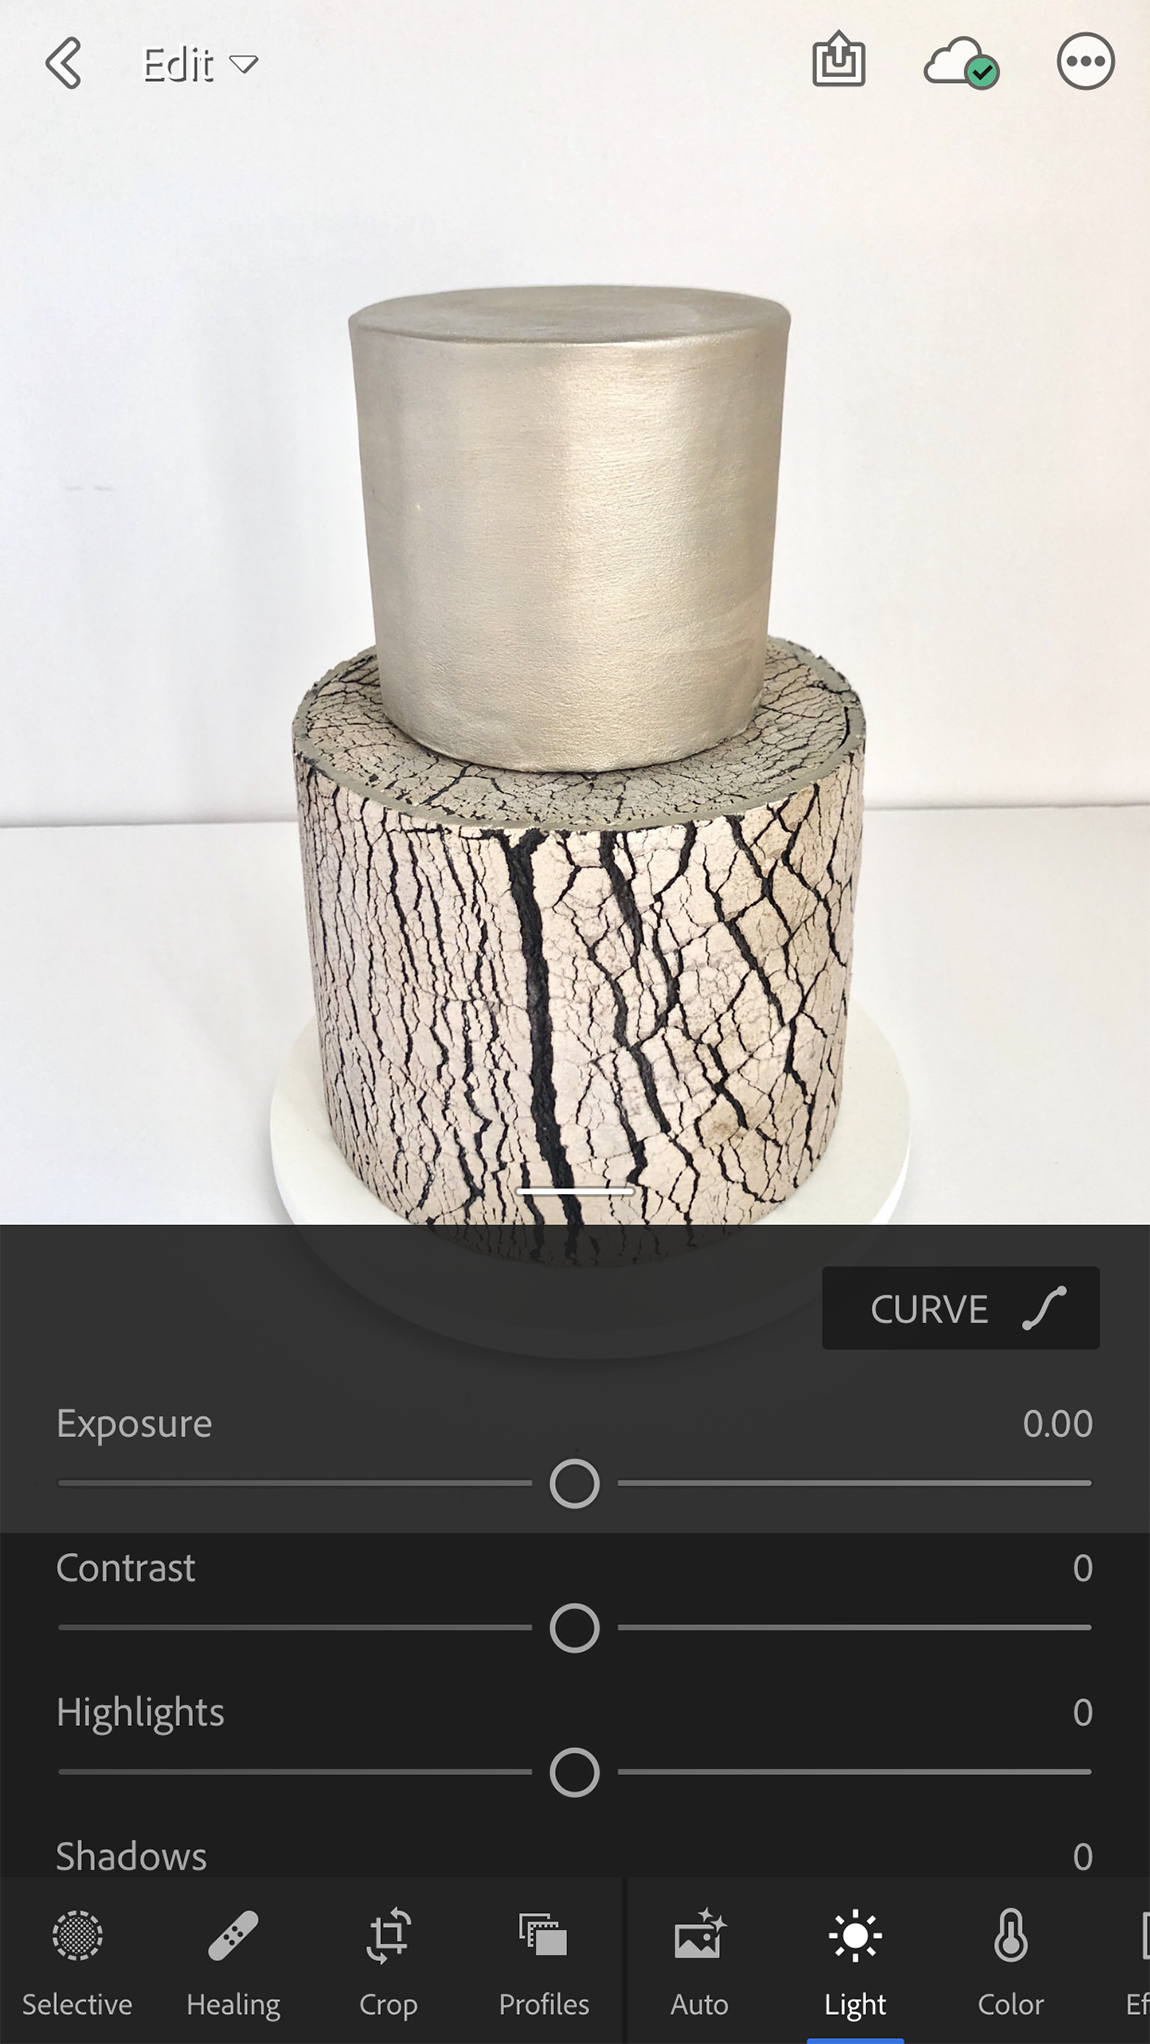
- Lighten and brighten is your friend. Your phone comes with some simple photo editing software built in. If you don’t want to fuss with an app, you can just use the light option to brighten your cake up a bit. To brighten your photo simple tap the EDIT on the upper right of your photo. Tap on the dial looking icon and then on LIGHT. Then simply use the slider to make the photo brighter. Once in the LIGHT option you can click on the three lines icon on the right and bring up even more options for brightening the photo.
- Photography editing apps. There are a lot of apps out there for editing your photos but the best ones are VSCO and Lightroom mobile. Both of these apps give you a lot of options including lightening, sharpening, fixing white balance and cropping.
- Don’t over-do it. If you take a photo with good lighting and a simple backdrop, you shouldn’t have to do too much to your photo to make it look it’s best. If you start over-saturating the colors, sharpening or adding crazy effects it just makes your photo look cheesy. Keep your adjustments small and look at other photos you think look really nice and try to re-create them until you find a style that you like.
iPhone Photography Tips #5 – Storing your photos to use later
So if you’re like me then you probably have a BILLION photos on your phone. Photos of your latest cake can get lost pretty easily. After you take your cake photos, save them into an album on your phone. This way you you can easily find them later. This also makes it easy to go back and find the photos to share to social media and even share old cakes again. Yes you should definitely share your cakes more than once!
So those are my top 5 tips for taking excellent photos using nothing more than your iPhone.
Ready to start taking better photos with your phone? Get my FREE phone photography guide and video tutorial

Did this guide help you get to the next level? Share it with a friend! We’re all about building each other up around here 🙂


3 Comments
Salma
February 20, 2019 at 7:26 pmLiz you are an inspiration for all of us in cake world, your small tips makes a huge difference. I love to here from you! You are the most selfless person I have seen on social media. May you be blessed with health, wealth and more success!! Love
lizmarek
February 20, 2019 at 9:23 pmThank you salma!
JUDI
February 21, 2019 at 5:24 pmLiz,
Thank you for sharing your wealth of knowledge with everyone. I applaud your willingness to teach others your passions, not only of cake, but life experience in general. I have learned so much from you through the years, and feel we all continue to grow.
Never to young OR old to learn! Congratulations on your new addition to your already beautiful family.